

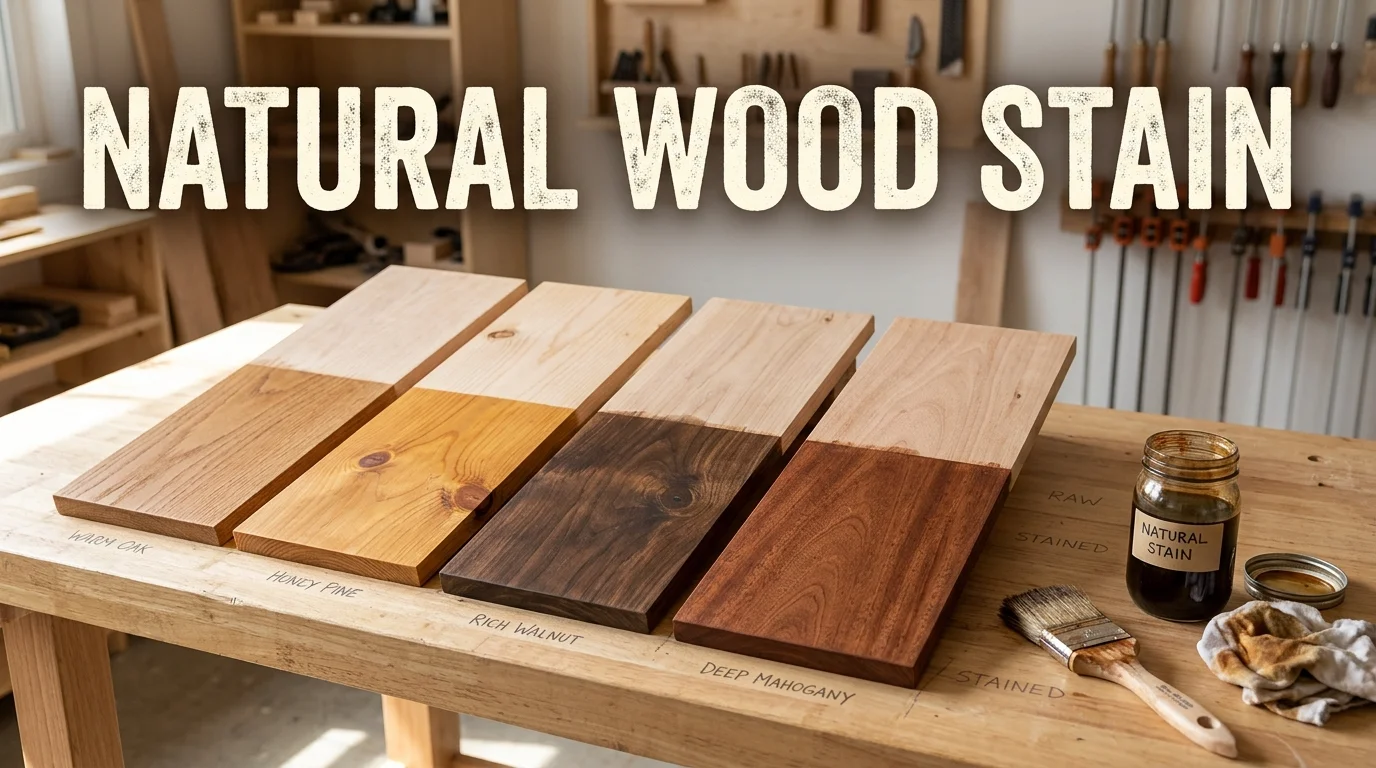
Natural wood stain offers a simple way to color timber while keeping its grain visible. Homemade choices can include coffee, tea, plant pigments, walnut hulls, or iron-and-vinegar mixtures. Ready-made products may also use plant oils, mineral pigments, water-based carriers, or other low-odor ingredients.
A natural stain changes wood color using plant-based dyes, mineral pigments, oils, or simple household ingredients. Results depend heavily on wood species, preparation, stain strength, and the number of coats. Most homemade stains also need a protective topcoat because color alone provides limited protection from moisture and wear.
Natural Wood Stain at a Glance
| Option | Typical Color | Best Use | Main Limitation |
|---|---|---|---|
| Coffee | Light to medium brown | Crafts and indoor furniture | Limited color depth |
| Black tea | Warm tan to brown | Light woods and tannin preparation | Usually subtle alone |
| Vinegar and steel wool | Gray to dark brown | Rustic furniture and aged effects | Results vary by wood |
| Walnut hulls | Rich brown | Furniture and decorative pieces | Can be messy to prepare |
| Plant pigments | Many earthy colors | Crafts and furniture | Often needs a binder or sealer |
| Natural oils with pigment | Warm, rich tones | Furniture and trim | Longer curing times |
| Water-based low-VOC stain | Broad color range | Larger indoor projects | Ingredient lists still require checking |
How Natural Wood Stain Differs From Conventional Products
The word “natural” doesn’t have a single meaning across every stain sold in the United States. Some products use renewable ingredients, while others mainly emphasize reduced solvents or lower odors. You should read the full product label instead of relying only on front-label claims.
Treat volatile organic compounds with similar care when comparing finishes. The EPA notes that “low VOC” does not automatically mean a product contains no potentially harmful volatile chemicals. Lower total VOC levels alone also cannot determine a product’s overall safety.
A stain and a protective finish also perform different jobs. Stain primarily changes the timber’s appearance and color. A sealer or finish provides much of the resistance against moisture, dirt, sunlight, and everyday wear.
Which Natural Staining Method Should You Choose?
Let your project guide your choice rather than the ingredient list alone. A decorative picture frame has different demands from a dining table or outdoor fence. Color consistency, water exposure, sunlight, and cleaning requirements all affect the decision.
Homemade recipes work well when you value experimentation and subtle color variation. Ready-made stains make more sense when you need repeatable color across larger surfaces. They can also simplify projects where durability and predictable drying matter.
Consider these practical factors before choosing:
- Indoor or outdoor use: Exterior projects require much stronger weather protection.
- Wood species: Oak, pine, maple, cedar, and walnut absorb color differently.
- Desired shade: Food-based stains usually create softer, earthier colors.
- Maintenance: Homemade colorants may need more frequent recoating.
- Consistency: Commercial formulas usually produce more repeatable batches.
- Topcoat compatibility: Check whether your sealer works with the chosen colorant.
For broader renovation work, careful material selection matters beyond the finishing stage. Smagazinego’s home restoration planning guide explains why material quality and project sequencing deserve early attention.
7 Natural and Lower-Impact Staining Options
1. Coffee
Strong coffee can add a warm brown cast to unfinished timber. Darker brews and repeated coats usually create a deeper result. The final shade still depends strongly on the species underneath.
Let the coffee cool before applying it with a brush or lint-free cloth. Work with the grain and remove puddles before they dry. Test an offcut first, because the wet color often changes as it dries.
2. Black Tea
Black tea creates tan or brown tones and contains tannins that can react with iron. Use it alone when you want a restrained, aged appearance. It can also prepare low-tannin surfaces for an iron-based reaction.
Brew the tea stronger than you would for drinking. Apply several even coats and allow drying between applications. Use the same mixture across the entire project to reduce color differences.
3. Vinegar and Steel Wool
A vinegar and steel-wool mixture creates an iron solution, not a conventional pigment stain. Iron reacts strongly with tannins present in certain species. Oak, cedar, and redwood can develop especially noticeable dark coloration.
This reaction makes testing essential before treating a finished piece. Different boards can darken at different rates despite receiving identical applications. A tea treatment can introduce extra tannins when a stronger reaction is wanted.
4. Walnut Hulls
Walnut hulls have long been used to create rich brown coloring. They can produce deeper earthy shades than coffee or tea. The preparation takes longer because the hulls usually need soaking or simmering.
Strain the liquid carefully before it reaches the timber. Small particles can leave irregular marks across smooth surfaces. Wear gloves because the same pigments can discolor skin and clothing.
5. Plant and Earth Pigments
Natural earth pigments can create colors beyond basic browns. Pigments are available in ochres, reds, umbers, and other muted tones. They usually require a suitable carrier such as water, oil, or another compatible medium.
Pigment recipes need careful mixing because solids can settle quickly. Stir during application to keep the shade consistent. Many pigment-only mixtures also require a clear finish afterward to prevent rubbing.
6. Natural Oils With Pigment
Certain drying oils can carry compatible pigments while enriching the timber underneath. These systems can create a deeper appearance than simple water-based food colorants. They may also contribute some surface protection after curing.
Drying and curing times vary considerably between oil formulations. Follow the specific manufacturer’s application and ventilation instructions. Never assume an oil is food-safe or child-safe without checking its intended use.
7. Lower-VOC Water-Based Products
Ready-made water-based options suit homeowners who want predictable colors without mixing a recipe. These products often dry faster than traditional solvent-heavy formulations. They can also be convenient for furniture, cabinets, trim, and other interior work.
“Water-based” still should not be treated as a universal safety guarantee. Review the safety data and label instructions for the exact product. The EPA recommends adequate ventilation when using products that can release volatile compounds.
How to Apply a Natural Stain Step by Step
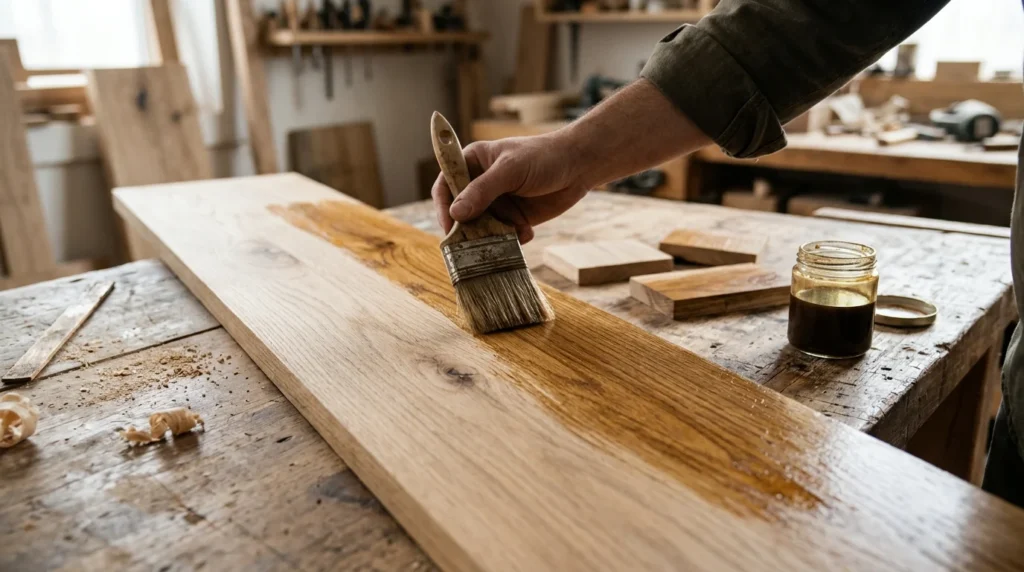
Good preparation affects the finished color as much as the recipe. Sanding, dust removal, testing, and controlled application prevent many common problems. Keep the same preparation method across every visible board.
1. Start with bare wood. Remove paint, clear finishes, wax, grease, and visible contamination.
2. Sand the surface evenly. Use a consistent sanding sequence across the entire project.
3. Remove the dust. Vacuum carefully and wipe the surface with an appropriate clean cloth.
4. Test an offcut. Use the same species and sanding method as the finished project.
5. Apply with the grain. Spread a thin, even coat using a brush, pad, or lint-free cloth.
6. Let each coat dry. Add another coat only after judging the fully dried color.
7. Protect the result. Apply a compatible sealer when the surface needs resistance to handling or moisture.
Avoid rushing from sanding directly into staining. Uneven preparation can create unexpected light and dark areas. End grain also absorbs liquid differently and may require special attention.
Why the Same Recipe Looks Different on Different Woods
Wood contains natural extractives and has varying grain structures. Those differences influence absorption, color development, and chemical reactions. As a result, two species can produce dramatically different shades from the same mixture.
Iron reactions clearly illustrate this effect. USDA guidance notes that iron reacts with tannin-rich woods and can create blue-black discoloration. Oak, redwood, and cedar are among the woods known for stronger tannin reactions.
Pine can also absorb liquid unevenly because its earlywood and latewood differ in density. That contrast may create a rustic appearance or unwanted blotching. Testing remains the simplest way to predict the result before committing.
Does a Homemade Stain Need a Sealer?
Most homemade colorants aren’t complete protective finishes. Coffee, tea, dyes, and many pigment mixtures mainly change appearance. They provide limited protection against spills, abrasion, ultraviolet exposure, or repeated cleaning.
Choose a topcoat based on the surface and its expected use. Decorative pieces can tolerate lighter protection than tables, cabinets, or flooring. Outdoor timber needs finishes designed specifically for moisture and sunlight exposure.
USDA wood-finishing guidance emphasizes protecting timber exposed to outdoor weather. Sunlight and moisture can alter unfinished or poorly protected surfaces over time.
Wooden fencing presents a practical example of that difference. Smagazinego’s outdoor fencing guide notes that wooden fences need ongoing staining or painting to protect them from the weather.
Homemade Versus Ready-Made Stains
| Factor | Homemade Colorant | Ready-Made Product |
|---|---|---|
| Color consistency | Variable | Usually predictable |
| Cost | Often low | Varies by brand |
| Ingredient control | High | Depends on labeling |
| Color range | Usually limited | Broad |
| Preparation time | Moderate | Minimal |
| Durability alone | Often limited | Formula dependent |
| Best for | Crafts and custom effects | Furniture and larger projects |
Neither route automatically wins every project. Homemade mixtures work especially well for creative indoor pieces and experimental finishes. Ready-made formulas often suit larger jobs where matching several boards matters.
Think about the whole surrounding surface before choosing a finish. Smagazinego also explores finish behavior in its guide to acid-stained concrete floors, where preparation similarly affects final appearance.
Common Mistakes to Avoid
Skipping a test board is the easiest mistake to avoid. Online color examples cannot predict your exact species, sanding pattern, or batch strength. Test the complete system, including the topcoat, before treating the main piece.
Heavy coats can also create uneven coloring. Thin applications offer better control and make it easier to adjust gradually. Allow the material to dry fully before deciding whether another coat is needed.
Another mistake is assuming “natural” means risk-free. Plant materials can trigger allergies, and metal-based reactions still require sensible handling. Use gloves, ventilation, and manufacturer instructions when the process or finished product requires them.
Frequently Asked Questions
Is natural wood stain safe indoors?
It can be suitable indoors, but safety depends on the exact ingredients and application conditions. “Natural” and “low VOC” are not complete safety assessments by themselves. Ventilate the work area and follow all product and ingredient precautions.
Can coffee permanently stain wood?
Coffee can leave a visible brown stain, especially after several applications. Its color may change with wear, moisture, cleaning, and sunlight. A compatible protective topcoat can help preserve the appearance.
Does vinegar stain wood by itself?
Plain vinegar usually does not create the dramatic darkening associated with popular iron recipes. The stronger effect comes from iron reacting with tannins in the timber. Wood species and added tea can change the reaction substantially.
What is the best option for pine?
No single formula always produces the best appearance on pine. Pine can absorb stains unevenly, so test pieces are especially useful. Lighter applications and careful sanding can help maintain better control.
Can homemade stain be used outdoors?
It can add color outdoors, but color alone is not enough protection. Exterior timber faces moisture, sunlight, temperature changes, and biological exposure. Use an exterior-rated protective system when durability matters.
A Practical Final Choice
Start with the project’s exposure, wood species, and desired color rather than chasing one universal recipe. Coffee and tea suit subtle indoor projects, while iron reactions create stronger aged effects. Pigments and ready-made water-based options offer broader control when repeatability matters.
Test the full finishing system on scrap material before working on the visible surface. Include your intended sealer because it can deepen or shift the final shade. That small test can prevent hours of sanding and refinishing later.
If your project is part of a larger build or renovation, coordinate finishing decisions early with surrounding materials. Smagazinego’s home-building overview provides useful context for planning material and finish choices across a home.